UA-45749527-1

Wednesday, December 4, 2013

T100R glamour shots

A few people have asked to see the engine in the bike so here are some photos.  The instruments are out being restored and upon their return I will also be installing the English-market low handlebars.


Tuesday, December 3, 2013

Airhead alterations

The usual route to "performance" with BMW's airhead engines is the typical American hot-rodder's approach, big valves, big ports, big compression, big cam, dual plugs, etc.  Bigger valves can flow more air, but, combined with bigger ports this increase in flow generally comes at the cost of velocity.
  Intake charge velocity is a prime contributor to combustion chamber turbulence and given the volume of an airhead's featureless, hemi combustion chamber, anything that can help to stir things up should be preserved or enhanced.  While those big ports and valves might flow some impressive numbers on the flowbench (which itself is an abstraction as no engine experiences steady-state flow), those big numbers generally will only provide an improvement at higher RPM, if at all.
  There are those that assume that since the larger airhead engines are oversquare, they must be designed to operate at high RPM.  Even if this were true, who would want a street-ridden engine that only makes power while you're wringing its neck?

 Let's briefly take a look at the BMW opposed twin and why it is not suited to high RPM operation.
- Heavy valvetrain?  Check.
- Foot-long pushrods? Check.  Ever heard of Leonhard Euler?
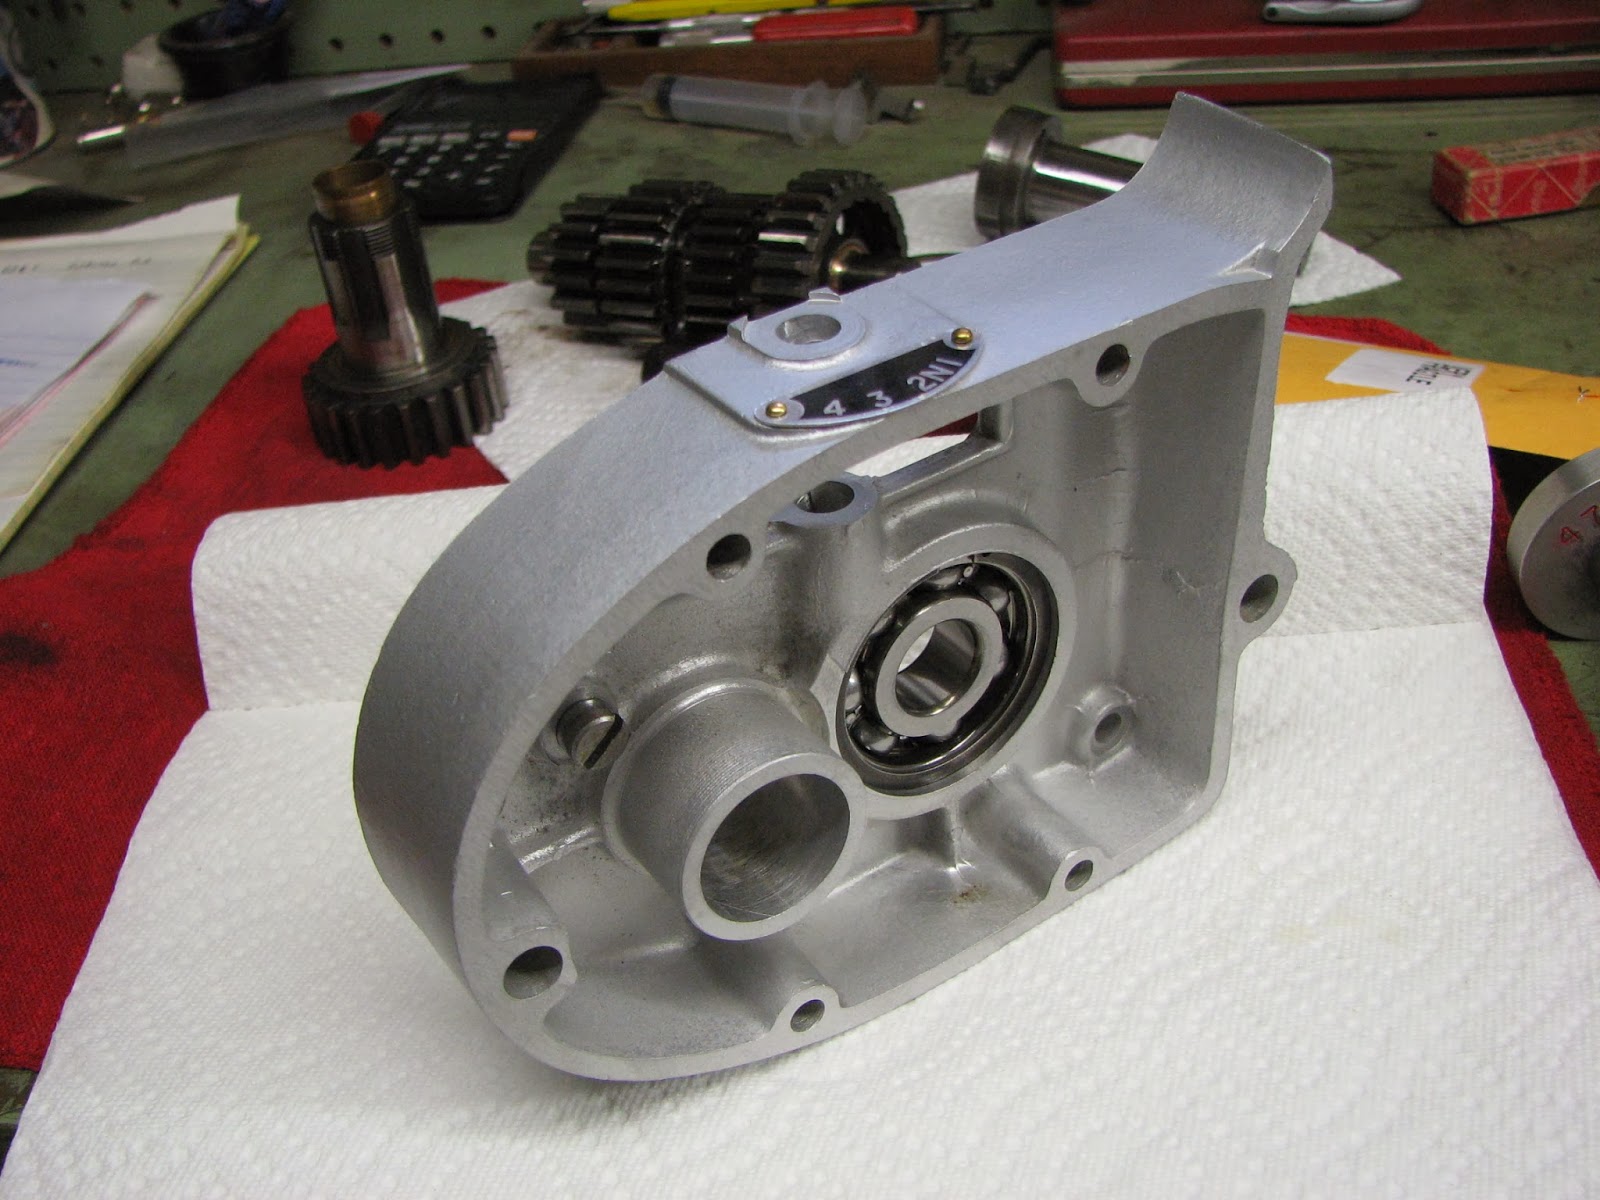
- Crank supported only at the ends?  Check.  Yes, it will flex at high RPM.
- Poor crankcase rigidity?  Check.  The crankcases will flex at high RPM. Even though the engine has a 180-degree crank and the cylinders are opposed at 180-degrees, the engine is effectively a 360-degree twin.  Both pistons reach TDC at the same time and they reach BDC at the same time, just like a British twin.  And just like a British twin, the crankcase volume changes by an amount equal to the engine's displacement every time the crank reaches BDC.  Udo Gietl discovered how much the cases will flex while building the Superbike championship engines to survive sustained high-RPM operation.
- Large, slow-burning hemi chambers?  Check.

The last item on the list is what I intend to address.  The accepted orthodoxy is to simply add a second spark plug opposite the original, back the timing off about 2-4 degrees and call it done.
This is a half-measure at best.  I think a better way would be to redesign the combustion chamber to gain turbulence which will accomplish a faster, more complete burn of the intake charge than can be had by simply lighting the original, lazy mixture at both ends.  Unfortunately there has been a lack of cylinder head development for these engines, but there have been many advances (both factory and aftermarket) in cylinder heads for the airhead's closest cousin, the American V-twin.  Yes, I said it.  Be intellectually honest and realize that, except for the cylinder angle, the engines are very similar.
  The knowledgeable V-twin tuners long ago abandoned the dual-plug, giant valves, giant ports, giant cams dogma.
Look at the chambers of any performance V-twin head, you'll look for a long time to find an open, hemispherical chamber.

To that end, here is the modified chamber that I propose.  While it may appear simple, I assure you that many hours went into coming up with this form.  The heads will be welded and reshaped to duplicate this pattern.

The ultimate goal is an engine with improved performance across its entire RPM range that will run cooler, with much less ignition advance and be ping-free on pump gas.
To those who would say "Yeah, V-twins make a ton of torque but I want horsepower" I say, ponder this:  Horsepower does not exist and can not be directly measured, it is the sum of an equation.  That equation is TORQUE x RPM, divided by a constant, = horsepower.  Torque is an actual force that exists and can be measured, horsepower is a concept that is expressed as the sum of an equation.
There are two ways to make that sum larger, increase RPM (ill-suited to an airhead) or increase torque output (the goal).


Monday, November 25, 2013

Airhead top end rebuild

It's an '88 R100RS.  Problems are soggy performance and exhaust clearances tightening up very quickly.

Here is what the exhaust valves look like at 117 thousand miles.


I will be posting the entire rebuild along with some performance rework of the heads.

Sunday, November 10, 2013

T100R finished

It is ready to go back into the frame and after break-in will be returned to the owner. 
I want to take this opportunity to thank Mitch Klempf and Chris Stubbs at Klempf's British Parts in Minnesota.
These guys unquestionably are the benchmark of customer service and knowledge when it comes to parts for vintage British motorcycles, they really know their business and are an absolute pleasure to deal with.
They can be reached at:  http://www.klempfsbritishparts.com/

Here are a couple photos.


And here are a few photos of what I found when tearing this engine down in preparation for the rebuild.

Incorrect clutch basket thrust washer
Worn valve guides
T100C pistons
The bigger Daytona valves made their own clearance.

The seller claimed that this engine had never been apart, if I had a dollar for every time I heard that one....


Thursday, November 7, 2013

T100R transmission

The trans was in pretty good shape except for the kickstarter pawl and the high-gear bushing where the seal rides on it.  But since it was apart I also replaced all of the bearings, bushings, seals and thrust washers along with the indicator plate which was worn completely bright.

The right-side trans support plate cleaned, refinished and the mainshaft bearing bearing installed.
Here is the mainshaft high-gear showing the groove that the seal has worn into the bronze bushing.
The old bushing removed and the new bushing.
The new bushing is installed and honed to fit the mainshaft.


T100R engine final assembly

New valve springs installed and the copper rockerbox gaskets are in place.  The reason I'm using solid copper gaskets is that the inner head bolts pass through the rockerboxes and a composite gasket would compress thereby altering the torque on the inner headbolts.

The rockerboxes are secured and the head bolts are torqued so now is a good time to adjust the valve clearance.  Since this is an early Daytona it lacks the access plugs in the sides of the rockerboxes that allow a feeler gauge to be inserted to measure the valve clearance.  There isn't really any room to use a feeler gauge accurately so I set up the dial indicator and used that to measure the valve lash.
Intake:
Exhaust:


Then the rockers are pre-lubed before placing the oil pipe bolts into their holes for safekeeping until the engine goes back into the frame.

The timing cover is installed with a new seal and it's time to move onto the transmission.

Tuesday, November 5, 2013

T100R top end assembly

The cams and timing gears are installed.  The Daytona cam timing specifications differ from the other T100 models which is why the cams are installed using the dashes rather than the dots.

  I lightly chamfered the backside if the cam gears in order to ease their installation.

 I also had to replace the intake cam due to some "mechanic" in the past using a hammer to install the gear and causing large chips on either side of the key slot.  Always use the proper tool for removal and installation of the timing gears.
The proper tool:


 The WRONG tool:

Pistons, tappets and cylinders are installed as are the timing gears.  Now I will install the degree wheel and pointer along with a dial indicator in order to precisely locate top-dead-center (TDC) in preparation for checking piston-to-valve clearance at TDC of the exhaust stroke, which is the overlap period where the exhaust valve and intake valve are both open.  During this period of crank rotation the exhaust valve has not fully closed, while the intake is starting to open.  It is at this point that the valves will be in closest proximity to the piston.

 To find TDC the degree wheel is mounted to the crank at roughly TDC and the dial indicator is mounted to the cylinder deck surface and set to zero while contacting the piston crown.
The pointer is adjusted until the degree wheel reads the same number of degrees on either side of the TDC mark with the piston .050" down in the bore.


 Now that TDC is accurately established, I install an intake and exhaust valve with lightweight checking-springs and temporarily assemble the head onto the engine with gaskets, pushrods and rockerboxes.  The valve adjusters are set to zero lash with the piston at TDC on the compression stroke and the dial indicator is set up on the head.

  Then the engine is rotated forward 360 degrees to TDC on the exhaust stroke and the dial indicator is set to zero while bearing on the valve adjustment screw.  Now the exhaust valve rocker is depressed until the exhaust valve makes contact with the piston while observing the amount of travel on the dial indicator.  The minimum piston-to-valve clearance is .040".  Since this engine was built with stock valvetrain components and pistons the clearance was not an issue, but it always pays to be sure, especially when dealing with a head that needed to be straightened and trued.
 Then the process is repeated for the intake side.

Now the actual valve springs can be installed and final assembly of the top end can commence.

You might have noticed the intake "manifolds", they are the stock pieces machined for spigot-mounted carbs.  No, the owner doesn't want Amals.


Tuesday, October 29, 2013

T100R reassembly begins

Reassembly begins with the crankshaft.  I have completely stripped the crank, cleaned the sludge-tube (what acts as the oil filtration mechanism in these engines) and cleaned, measured and inspected the rod and main bearing journals and found them to be in excellent condition and standard size.  Having done that, reassembly can now begin.

Here we have the crank and the parts related to the sludge-tube.  They are the tube itself, the flywheel bolt that retains the tube and the  new oil galley plug.  Note the tape protecting the timing-side main bearing journal.


Note the small hole in the middle of the sludge-tube, the small projection on the end of the flywheel bolt engages that hole and retains the tube.  The tube is a pretty snug press-fit into the crank and unless you want to remove it again, you need to make sure that the hole in the tube aligns with the hole in the crank when you insert the tube.  Here's how I do it.
I machined an alignment pin to show when the holes in the crank and tube coincide.

I start the tube into the crank, drop the pin into the flywheel bolt hole and gently tap the tube in until the pin drops, signifying proper alignment.
Started:

Aligned:

The Flywheel bolt is red Loc-Tite coated and installed at 33 foot-pounds torque and the plug is blue Loc-Tite coated, tightened and staked in place.

Now we move on to installing the connecting rods.
Having installed new bearing shells and made sure that everything is scrupulously clean, the rod and cap are assembled to the (lightly oiled) journal and the rod bolts are measured before and after torquing to ascertain the amount of stretch (preload) in the rod bolt.  They should measure .004"-.006" longer after torquing.


With the crank assembled we can move on to assembling the crankcase halves.  First the crank is placed into the primary-drive side bearing.


After dry-fitting the timing-side crankcase sealer is applied to the case halves and the timing-side case is mated to the primary-side case and the crankcase bolts are installed.


Don't forget the screws in the case mouth.  They are installed with blue Loc-Tite.


The timing-side main bearing is oiled to prevent any damage from crank rotation.


Crankshaft end float is verified.  The factory specifies a maximum of .017" but in reality anything below .025" is no cause for concern as the timing gears are straight-cut (instead of helical) and the primary drive is a chain, there really is nothing putting an axial load on the crankshaft.